Introduction
Use this guide to replenish or change types of 3D printing filament for the Prusa MK3 printers located in the IDC main assembly area which use dry boxes to contain filament.
-
-
On the front display of the printer, push the knob like a button to open the main menu.
-
Turn the knob until you reach Preheat in the main menu, and push the knob as a button again to select it.
-
Turn the knob to select from the list of filament types whichever is loaded into the printer, and press the knob to select it. The printer will begin preheating upon selection. You will see the temperature begin to rise on the main display.
-
There are placards which display which type of filament is currently loaded in the printer below each one and at the top of the frame. If you change to a different filament type, use the dry erase markers on top of the shelf to change the placard accordingly.
-
-
-
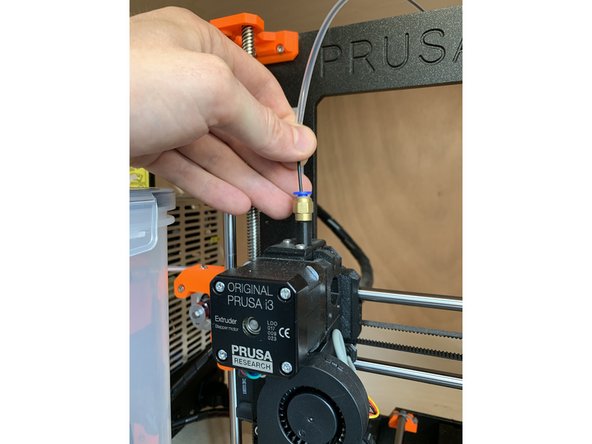
While the printer begins to preheat, look for where the tube connects to the printer's extruder.
-
Push down firmly but not excessively on the blue collet while simultaneously pulling up on the tube. This shouldn't require too much force to do. The tube will come free, exposing the filament.
-
Make sure the filament has reached the critical printing temperature in the upper left corner of the display before proceeding to the next step.
-
-
-
Return to the main menu again and scroll down to Unload Filament. Push the knob/button to unload.
-
Grasp the filament above the extruder and pull lightly until it is free of the extruder.
-
Make sure you manually pull the filament promptly to fully free it from the extruder after pushing the button to unload. If you allow it to dwell in the extruder after its ejection, the end can swell and obstruct the pathway enough so that it cannot be pulled free of the extruder and will require opening the machine.
-
-
-
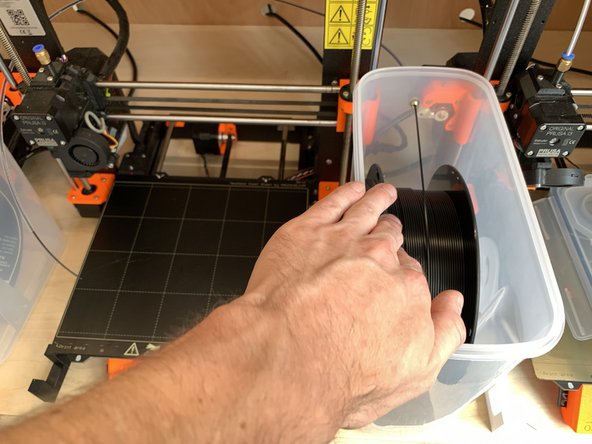
Unsnap all four sides of the dry box (food storage container) to the right of the printer and remove the lid.
-
Wind the filament back through to tube and onto the reel until it is free of the tube.
-
Lift the reel from the dry box and remove it.
-
-
-
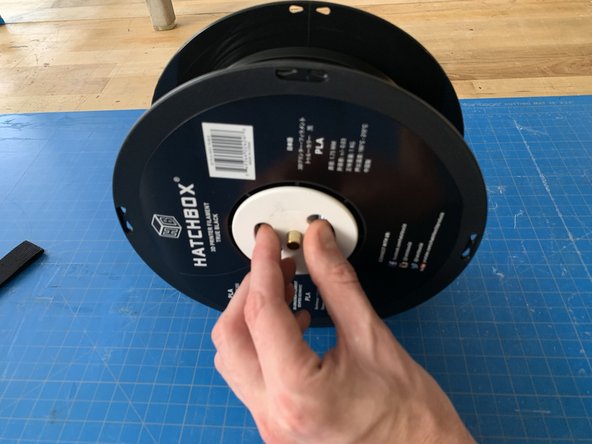
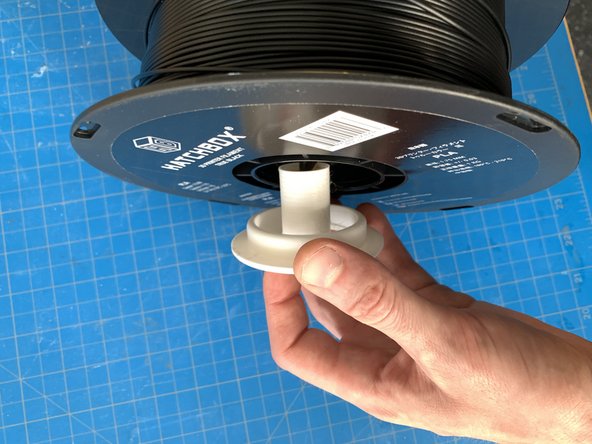
Take the new reel of filament and replace the hub through the center, as it was on the previous reel. Make sure it is tight enough that the reel won't spin on the hub.
-
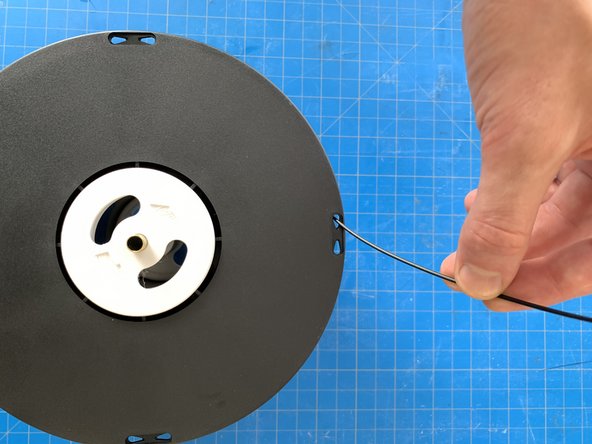
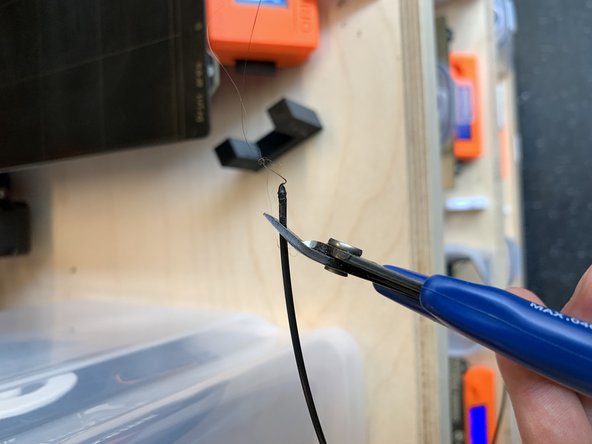
Take the end of the new filament and snip it at an angle, this makes it easier to feed into the extruder.
-
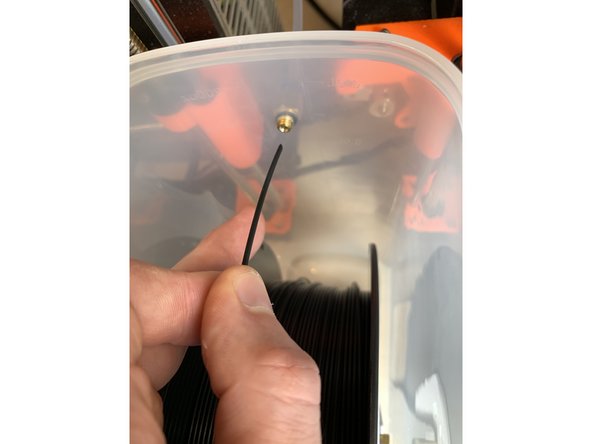
Place the reel with hub into the dry box, the brass tube in the middle of the hub will seat in the U shape at the top of the arms on the base. Make sure the filament is directed over the top of the reel, not from underneath.
-
Take the end of the filament and begin pushing it through the tube.
-
-
-
Continue pushing the filament through the tube until it comes out the end about 1.5 inches.
-
Insert the filament into the top of the extruder and feed it down until it stops at the extruder gears.
-
The filament can sometimes snag before reaching the gears when feeding it in by hand. When inserting, give it a little twist and wiggle to make sure it reaches the gear.
-
With your other hand, push the knob button once and scroll down to Load Filament in the main menu. Push the button again to begin loading. You will feel the filament pulling into the extruder.
-
-
-
While the filament is loading, push the tube back down into the blue collet until it stops.
-
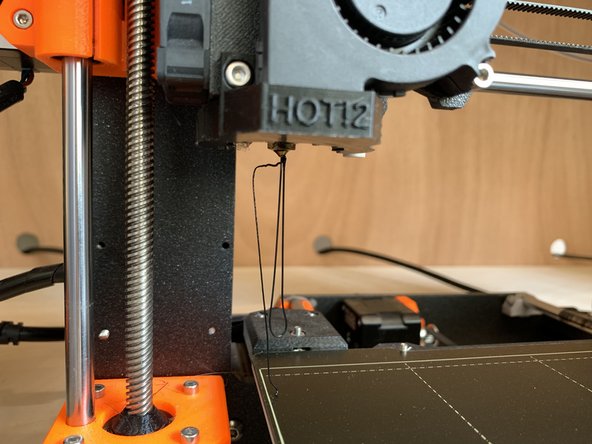
Filament should begin extruding out of the nozzle. It will cycle through a predetermined amount and then stop automatically.
-
A question will appear on the screen: Is filament extruding the correct color? If it is, push the knob/button to select yes. If it is still mixed with the previous color or material and needs to be flushed out a little more, scroll down to No to extrude another small amount of filament.
-
Clear the filament oozing from the nozzle, and you are ready to begin printing.
-